
[スポンサーリンク]
Git GitHub を使ってみる (初期設定)
ソースコード管理をGitLabやGitHubで実施しているケースをよく聞きます
私はこれまで使用したことがないので、今回設定をして、触ってみようと思います
GitLabもGitHubもgitを利用したソフトウェア管理が可能となっています
gitはソースコードなどバージョン管理を、チームなど複数人で行えるシステムです
今回はあくまで個人で勉強で使うので、SNS機能など使えるGitHubを準備したいと思います
GitLabとGitHubの違いは下記サイトなどで、分かり易く説明されています
git 環境準備方法
まずはgit環境を準備してきたいたいと思います
今回はWindwos環境で行います
gitのサイトからDownloadボタンを押下して、ダウンロードします


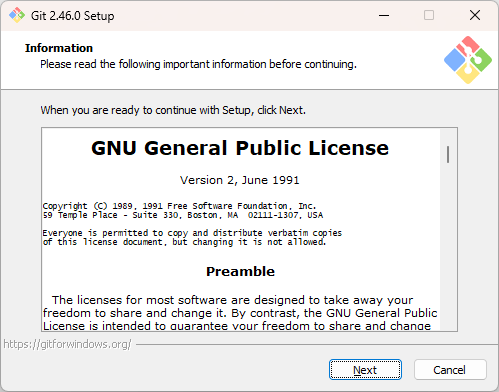
ダウンロードしたインストーラーを実行します
今回は基本的にデフォルト設定で進めます
利用規約を確認します
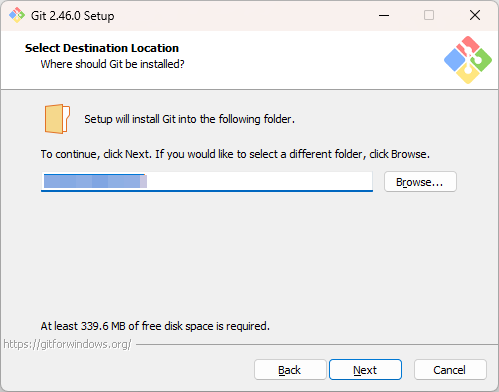
インストール場所を決定します
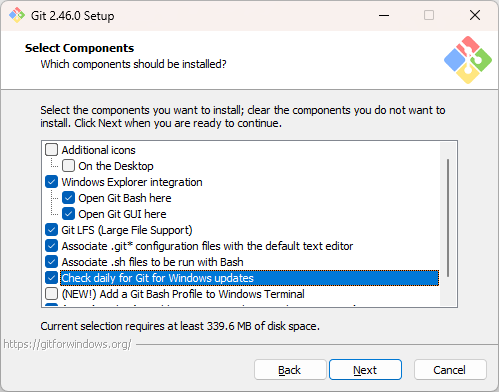
インストールするコンポ―ネットを決定します
今回はWindows Updateのコンポーネントの追加を行います
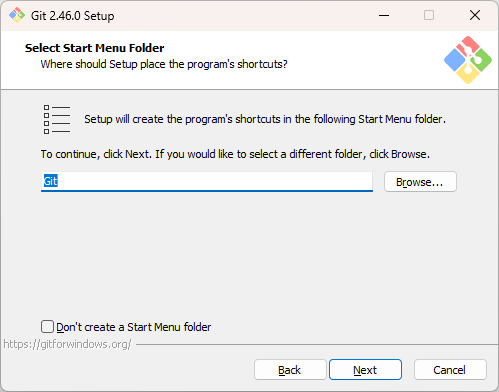
スタートメニューを作製するか、作成する場合の名前を決定します
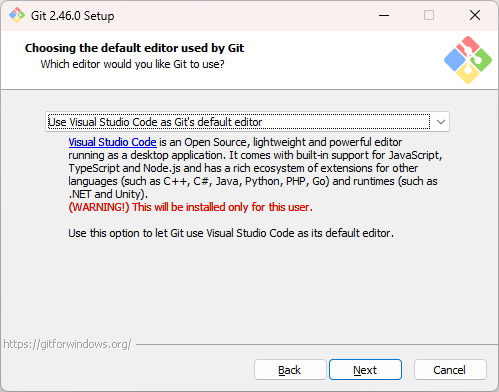
デフォルトのエディタを決定します
今回はVisual Studioを選択します
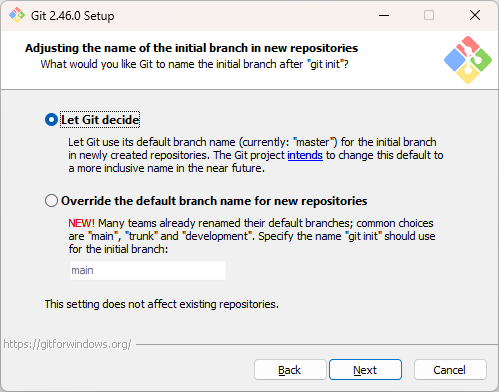
デフォルトのリポジトリ名の決定します
今回はLet Git decideを選択しています
Let Git decideはGitがリポジトリ名を決定するのですがmasterになります
ただこの後のGitHubの設定時に気付くのですが、GitHubはデフォルトが昔はmasterでしたが現在はmainになっています
GitHubで利用する場合は、Override the default branch name for new repositoriesを選択し、mainに設定したほうがよいかと思います
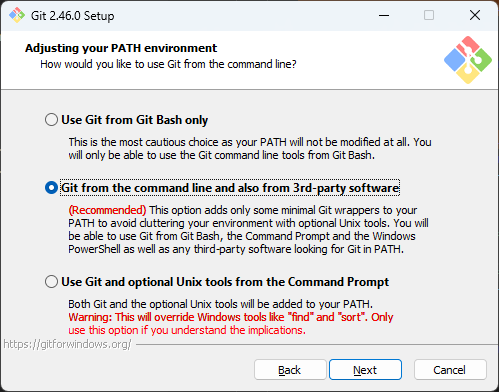
試用するコマンドラインを選択します
今回は推奨であるGit from the command line and also 3rd-party softwareを選択します
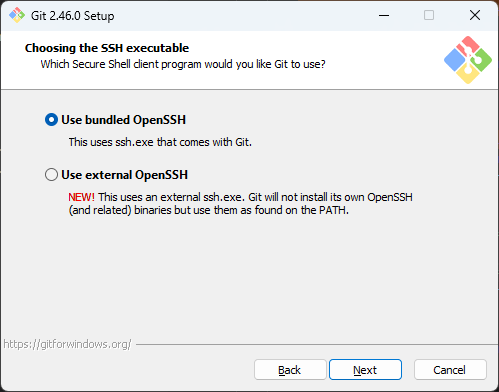
Gitで使用するSSHを選択します
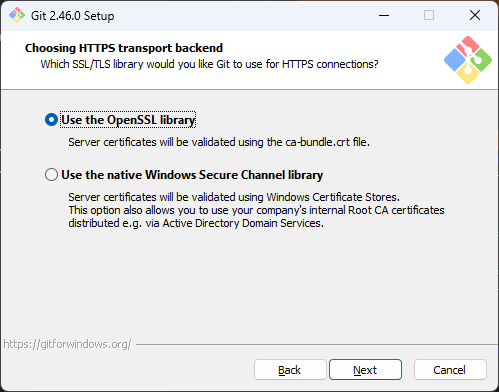
改行コードを選択します
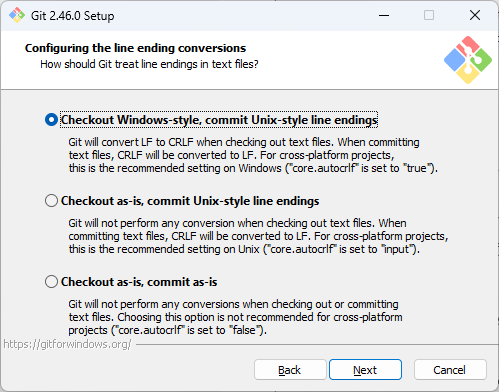
Git Bachの利用方法を選択します
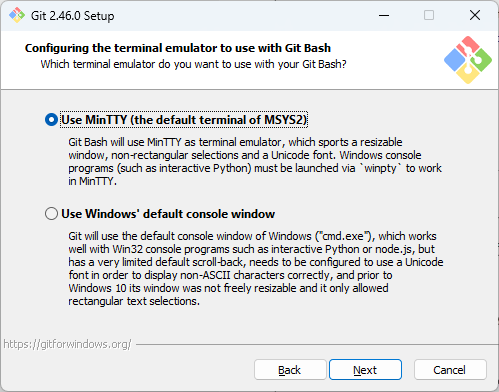
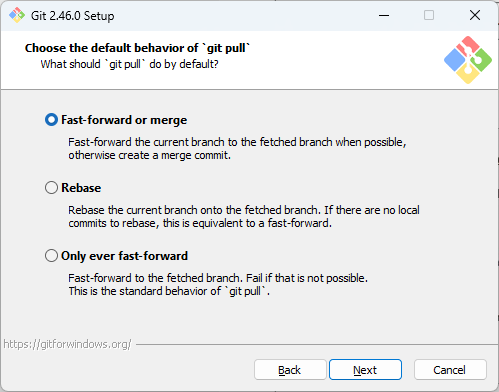
pullコマンド実行時のデフォルト動作を選択します
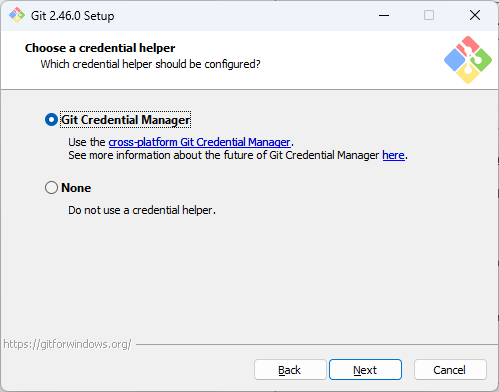
認証情報を構成するかを選択します
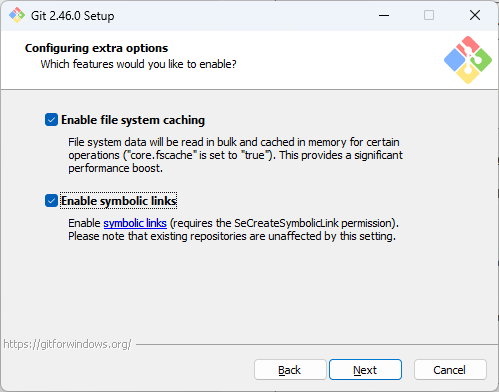
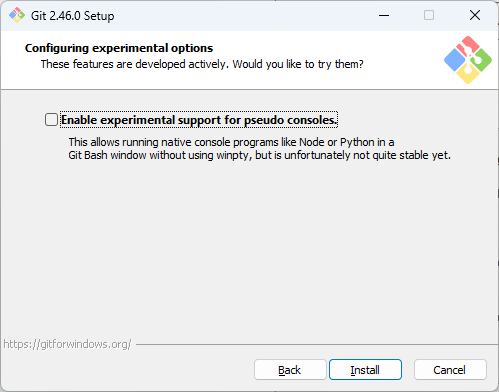
オプション設定や疑似コンソールを利用するか選択します
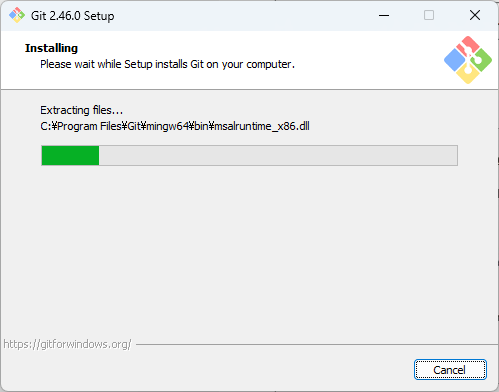
インストールが開始されるので、終了まで待ちます
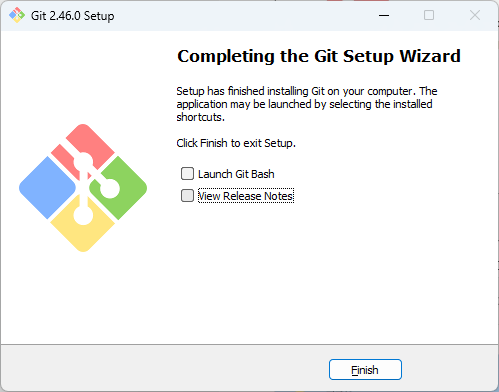
Launch Git Bashを選択しておけば、Git Bashが起動します
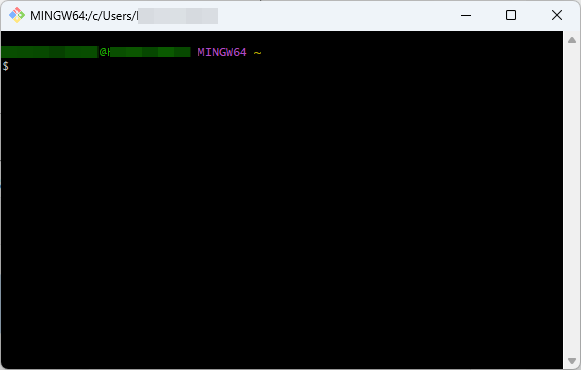
バージョン確認のコマンドを実行し、バージョンが表示されていれば問題なくインストールされています
|
1 |
git --version |
|
1 2 |
$ git --version git version 2.46.0.windows.1 |
事前にgitを利用するフォルダを作成しておきます
そのフォルダに移動して、initコマンドを実行します
Git Bash環境なのでLinux環境のようなコマンド実行が可能です
|
1 2 |
cd "【git用フォルダ】" git init |
ユーザ名とメールアドレスを登録します
これでgit環境の初期設定は完了です
|
1 2 |
git config --global user.name "【ユーザ名】" git config --global user.email "【メールアドレス】" |
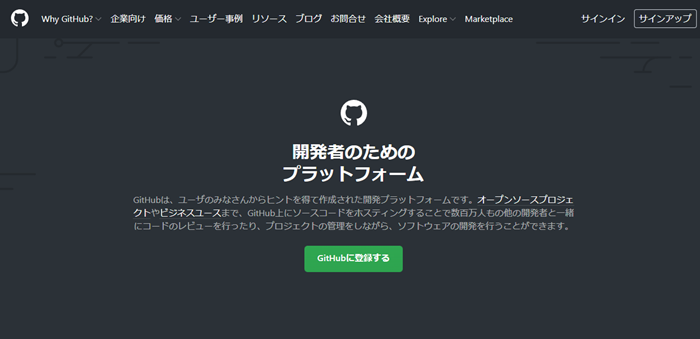
GitHub 環境準備方法
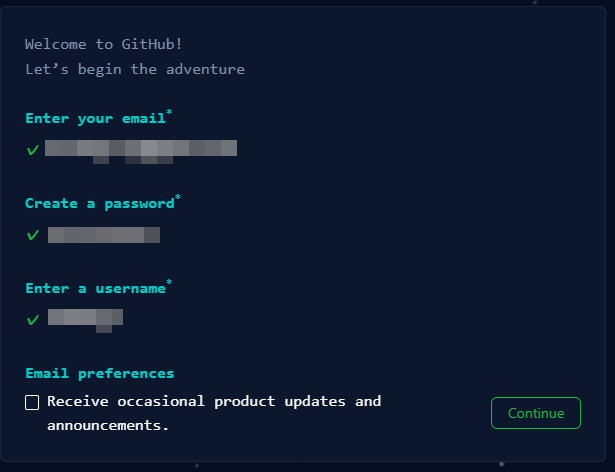
GitHubのサイトよりアカウントを作製します

メールアドレス、パスワード、ユーザ名を入力します
ユーザ名はリポジトリのURLにも使用されます
製品情報をメールで受け取るかも選択します
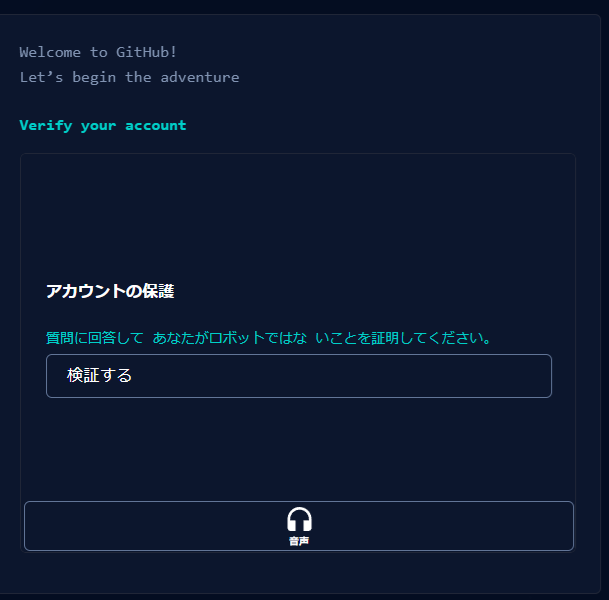
ロボットではないかを確認されます
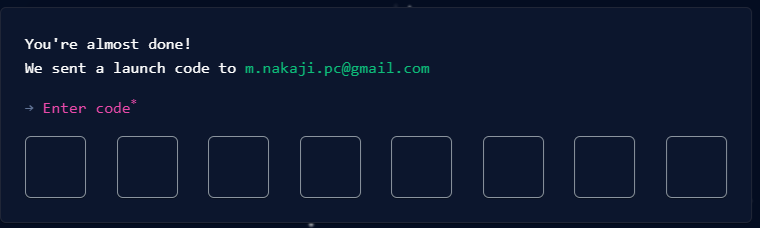
ロボットでないと判断して貰えた場合は、認証コードがメールに届くので入力します
認証されればサインイン画面に遷移するので、設定した内容でサインインします

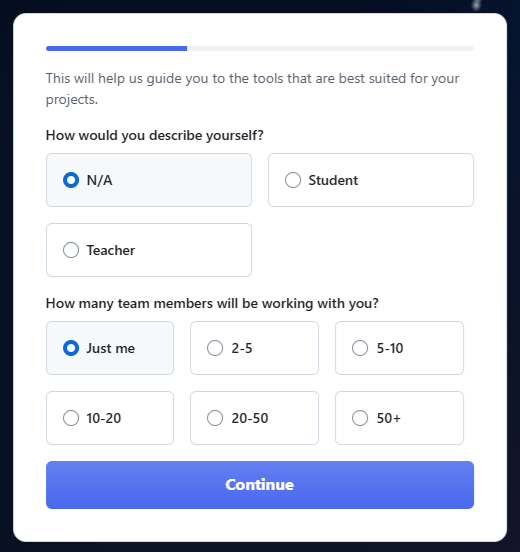
学生や教員かの確認と、使用するチームの人数を回答します
学生や教員かの確認と、使用するチームの人数を回答します
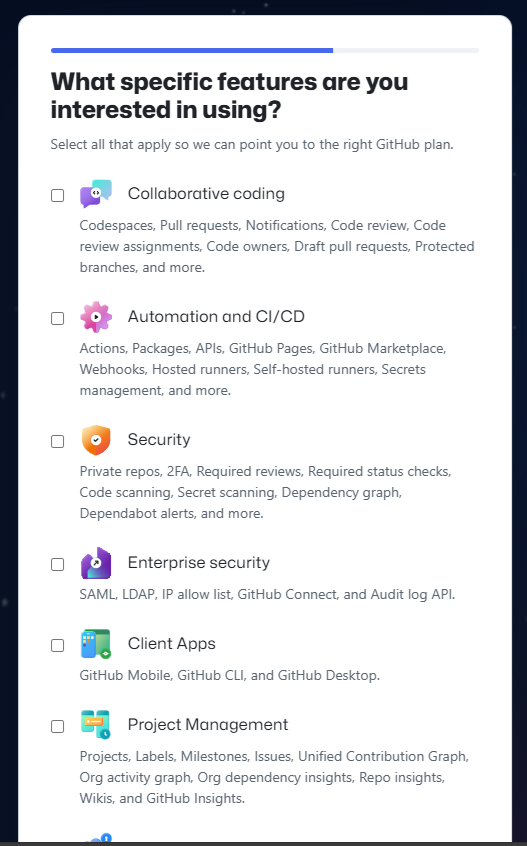
興味のある機能などについても回答します
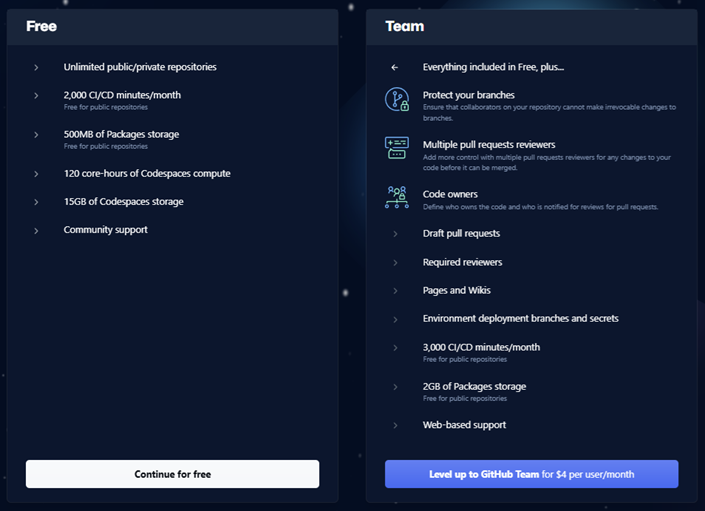
プランを選択します
今回はお試し、勉強として個人で利用するのでFreeプランを選択します
ホーム画面が表示されます
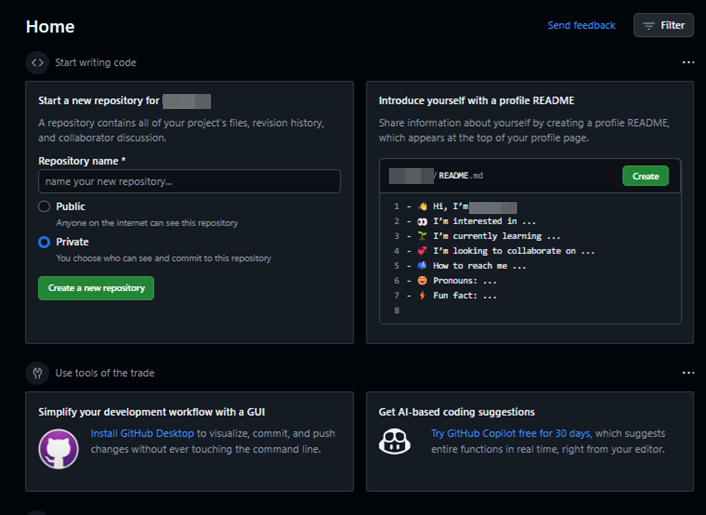
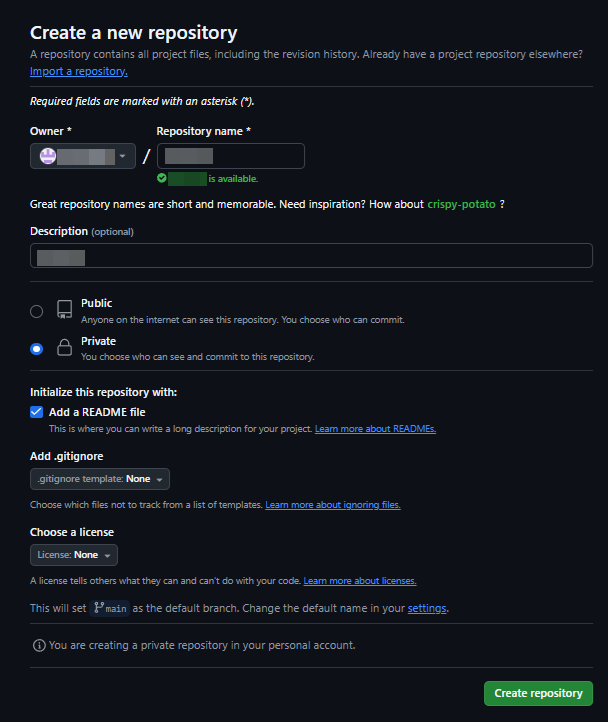
リポジトリを作製していきます
オーナーとするアカウント、リポジトリ名を入力します
Public/Privateを選択します
今回は個人用で公開しないため、Privateを選択します
リポジトリが作製されるとURLが発行されるので控えておきます
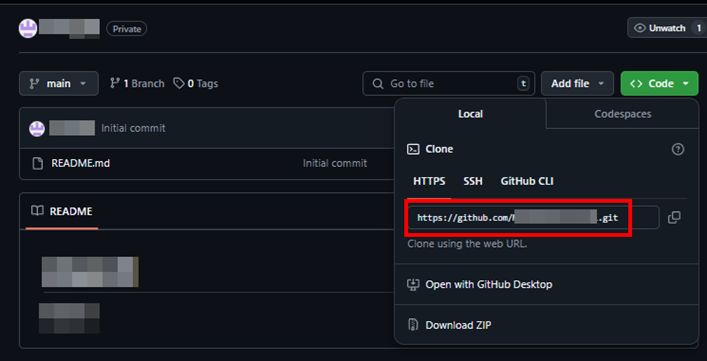
gitからGitHubへログインに使用するトークンを発行します
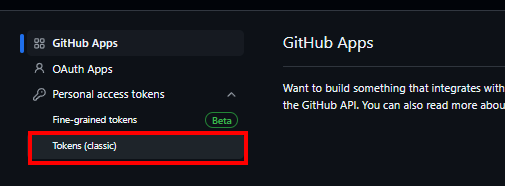
アカウントメニューからトークンを発行していきます
>Setting
>Developer settings
>Tokens (classic)
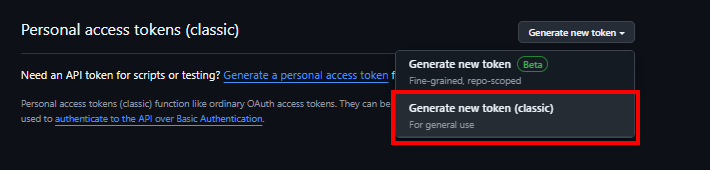
>Generate new token (classic)


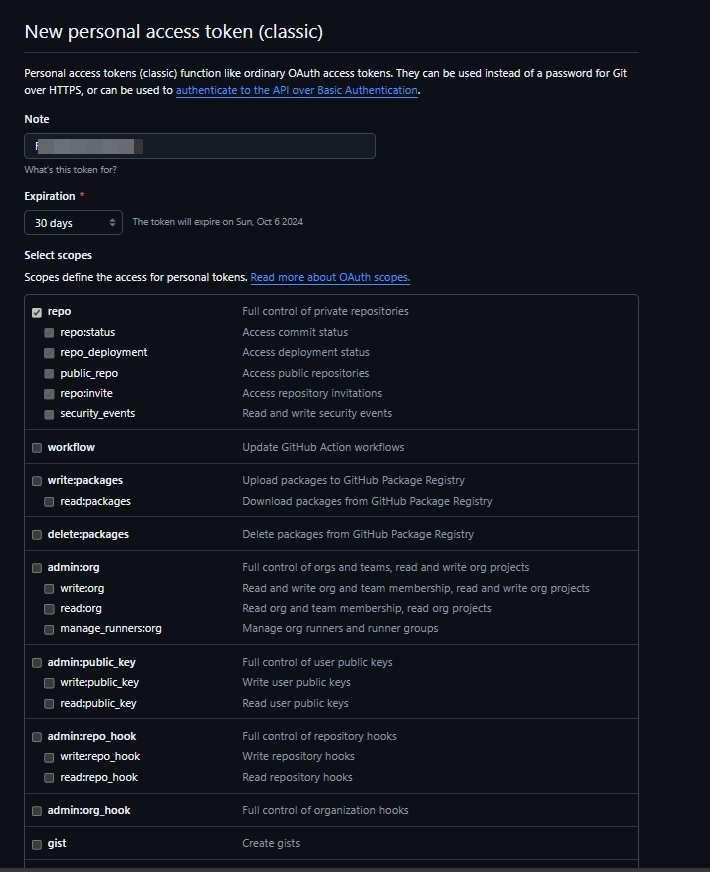
トークンの名前とトークンの有効期限を選択します
トークンでアクセス出来るものを選択します
動作確認のためなので、repoだけを選択します
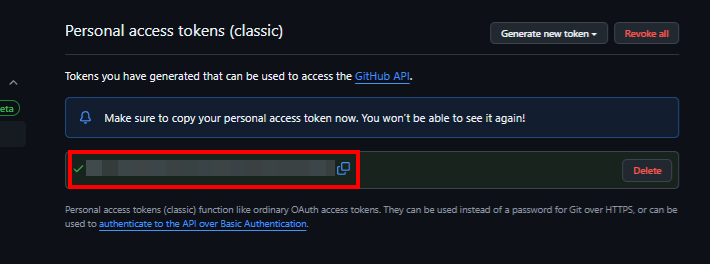
トークンが発行されるので、控えておきます
トークンは再確認出来ないのでこのタイミングで記録しておくことが必要です
動作確認
簡易な動作確認
簡単な動作確認をします
Git Bashで操作が可能ですが、Powershellでも使えるようになっているので、今回はPowershellで確認します
まずは動作確認用のファイルを作製します
|
1 |
New-Item "【動作確認用ファイル】" |
git statusで状態を確認します
この段階では動作確認用のファイルが未追跡ファイルとしてある旨が表示されます
|
1 |
git status |
|
1 2 3 4 5 6 7 8 9 10 11 |
> git status On branch master No commits yet Untracked files: (use "git add <file>..." to include in what will be committed) 【動作確認用ファイル】 nothing added to commit but untracked files present (use "git add" to track) |
git addで追跡ファイルに追加します
動作確認用のファイルが追跡ファイルとして追加された旨が表示されます
|
1 |
git add "【動作確認用ファイル】" |
|
1 2 3 4 5 6 7 8 |
> git status On branch master No commits yet Changes to be committed: (use "git rm --cached <file>..." to unstage) new file: 【動作確認用ファイル】 |
git commitで動作確認用のファイルをコミットします
|
1 |
git commit -m "【コミットコメント】" |
|
1 2 3 4 5 |
> git commit -m "【コミットコメント】" [master (root-commit) 68ca987] 【コミットコメント】 1 file changed, 0 insertions(+), 0 deletions(-) create mode 100644 【動作確認用ファイル】 |
GitHubのリポジトリをリモートリポジトリに追加します
|
1 |
git remote add 【リモート名】 【GitHubのリポジトリのURL】 |
リモートリポジトリにpushします
GitHubへのログイン画面が表示されるので、メールアドレスと発行したトークンを入力します
|
1 |
git push 【リモート名】 【ローカルリポジトリ名】 |
|
1 2 3 4 5 6 7 8 9 10 11 12 |
> git push 【リモート名】 【ローカルリポジトリ名】 Enumerating objects: 3, done. Counting objects: 100% (3/3), done. Writing objects: 100% (3/3), 229 bytes | 229.00 KiB/s, done. Total 3 (delta 0), reused 0 (delta 0), pack-reused 0 (from 0) remote: remote: Create a pull request for '【ローカルリポジトリ名】 ' on GitHub by visiting: remote: 【GitHubのリポジトリのURL】/pull/new/master remote: To 【GitHubのリポジトリのURL】 * [new branch] 【ローカルリポジトリ名】 -> 【リモートリポジトリ名】 |

PushされていることがGitHubでも確認出来ました
無事GitHubに反映されたので、動作確認は完了です
今回はGitHubのデフォルトブランチがmainで、Gitがmasterだったので新規にブランチが作製されました
GitHubのデフォルトは今後もmainなので、Gitのデフォルトもmianに変更しておきます

|
1 |
git config --global init.defaultBranch main |
コメント